 PART 1
To start off a series of laser tutorials will begin with a simple lightsaber-style effect.
There's two ways to make a back-lit effect in Flash, the bitmap version and the vector version. In other words the Movie Clip method and the Soften Edges method.
Neither requires Photoshop, just Flash 8.
First off, the Soften Edges method.
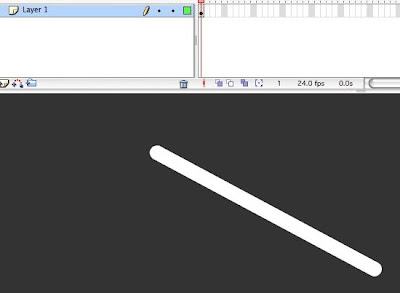
Make a 20pt line and then convert it to paint by selecting the line and selecting Modify: Shape > Convert Lines to Fill.
This allows you to shape the line to any angle you'd like.
Copy the key frame to new layer on top.
Insert: Timeline > New Layer
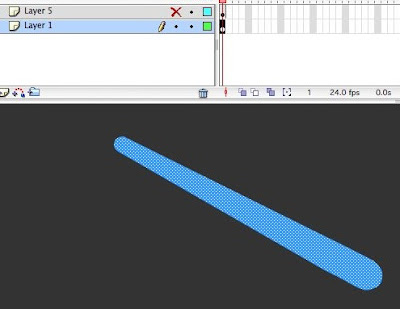
Click on keyframe with your art on it, then right click on that frame to select Copy Frame, then right click on the new blank frame of your empty top layer and select Paste Frame.
Another fast way to copy mulitple fraems in the future is to click/drag to select multiple keys then hold down ALT as you drag the keys to a new location, this will duplicate the keys whenever you unclick.
Make the top layer invisible, then select the bottom layer key and change the color from your color mixer window or by click selecting a color from the color box on your tool bar.
With the art still selected, go to your menu again and select Modify: Shape >Soften Fill Edges - now choose a Distance: 50px and Number of Steps: 10 to start off with.
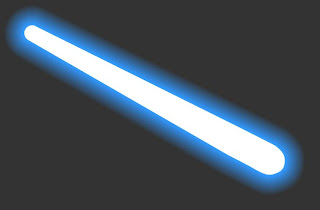
How large your object is and how large your stage size is all factor in to these numbers and how much the range of 'glow' will be created.
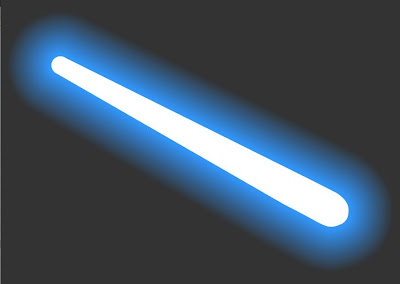
Make your top layer visible again and there you have a very simply vector art style glowing edge. In this case a crude blue lightsaber effect. many laser-style glows have a white core, the color is identified by its glow, the same goes for the old traditional lightsaber effects in film.
If you look closely all the computer software
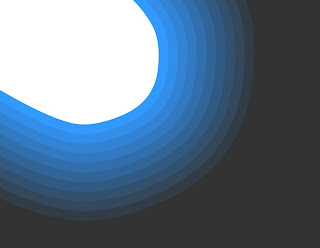 rendered was a 50 pixel wide gradient, banding in 10 separate steps, transitioning from full 100 opaque blue to a ten-step increment full alpha transparency, expanding the shape outwards as it gradually reduced the alpha, thus making it appear to glow.
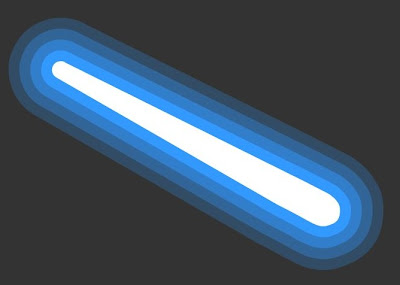
As you can see below the difference between a 100px / 4 step and then a 100 pixel / 50 step.
You create two different effects, one almost appears to be a Photoshop-style blur filter, simply because you have more pixels crammed within the same 100 pixel range of the object being expanded outwards.
Now that we have the basics of the vector version of a glow, let's cover the alternative method.
This method can take longer to do if you have a lot of frames of animation to apply this glow to, but in some ways it can be more reliable, if you apply the Soften Edges technique more complex shapes, you may get strange glitches in the render, shapes turn inside-out as they try to expand the paint outwards and cross-over to cancel out the alpha colors. Plus you can apply to this to all your animation at once simply by copying all your frames of animation at once then selecting them all with the Edit Multiple Frames button, with all the art on every frame selected at once you can apply the Soften edges to hundreds of frames at once (though it can take a while to apply the effect, so be patient).
With the Movie Clip method, you convert the paint into a symbol so that you can apply a glow filter to the art (in essence converting it to a bitmap), this makes a softer and more reliable glow, however it can cause it's own small glitches in more complex frame-frame animation.
In the Movie Clip technique you start in the same method. A white line of paint, select it, hit F8 to convert your paint to a symbol, select Movie Clip as your symbol type (this is the ONLY time you want to use Movie Clip as your symbol type, otherwise choose Graphic, always!)
Open the Filters window, click on the + and choose Glow with these settings:
Blur: 30
Strength: 250%
Quality: High
Color: Blue
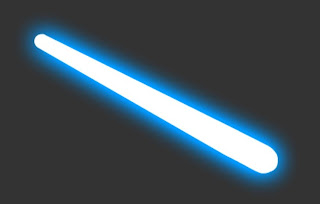 BAM! Instant, beautiful, cool, soft, blurry glow of light. You can apply this to any sort of lightning, laser beams, blinking computer lights, and blasts of cartoony photon energy.
A slight disadvantage to this method is that you must apply this technique to each and every frame individually, so you can have dozens of movie clip symbols piling up in your library, this is easy to remedy, you can make a folder just to dump all these symbols to get them out of the way. Also, you can get some strange glitches once you render out the animation into video, the odd time you'll see some dropped frames of your blur or glow animation that you've created using the Filters.
This is very easy to remedy, just keyframe every frame on your main timeline. No matter how many symbols within symbols that you may have buried deep within your animation, if you hit the F6 button once you select the entire layer the FX or main symbol housing all your animation is on, your scene won't be affected in anyway but once you render it out the glitches will be gone.
Another slight disadvantage, is the fact that in order to create this blur/glow you have a bitmap created in order to produce the effect, so if you happen to truck-in on your animation you run the risk of showing pixelation like this:

This shouldn't concern you unless you zoom in to closer than 200% and still, depending on the resolution you render out the video it may still not be visible, so don't worry.
PART 2
Now it's time to animate these techniques.
Let's activate the light saber. 3 frames on 1s.
Start off, the initial 'spark', then the burst out, then the expansion of the actual 'blade'.
the 4th and final drawing is the final fully extended laser sword!

All 4 drawings need to be individually converted to a Movie Clip Symbol in order to apply the Filter to them.
Again using the Edit Multiple Frames button below the timeline is nice to quickly apply the filter to multiple frames at once.
Below are quick roughs made of the light saber activating, once cleaned up and colored, the same process applies as detailed above.
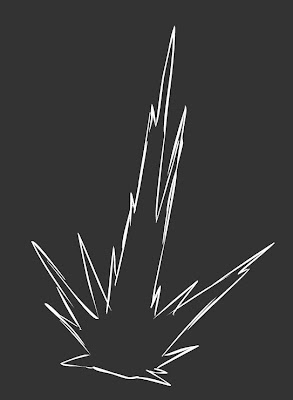
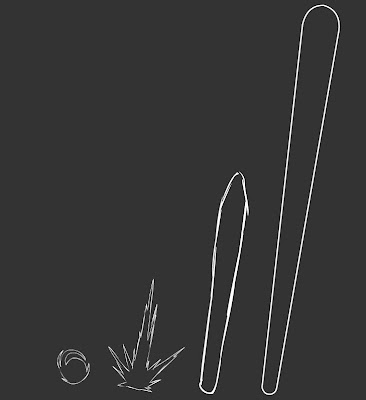
Make another duplicate frame of the last fully-extended saber.
Therefore you have...
frame 1: the spark
frame 2: the blast out
fraem 3: the half extended blade
frame 4: the fully extended blade
frame 5: the copy of that same extended blade
When you are applying the glow filter with the color of your choice, make sure to have a lower glow strength on frame 5 versus that of fame 4.
on frame 4 for instance:
Blur: 35 Strength: 250% Quality: High for the Filter Properties.
Blur: 35 Strength: 200% Quality: High for frame 5. Now copy frame 4 and 5 a few times to create a vibration in the glow, of course this is all optional and to change the intensity of th glow just increase the blur's range by increasing the numbers to 50 or more rather than just 35.
The result:
Now lets add some movement. Fast movements work well for light sabers as long as your antics and overshoots are on twos and the actual smear drawing is on 1s.
Add another light saber, move those symbols around, insert some flash frames in their on impacts, and add in some sound effects and we're all set to go.
Remember, if you render it and there seems to be glitches with the filters like glows and blurs being held for longer than what you had keyframed on your time line, simply select all the layers with the 'filtered symbols' and hit F6.

